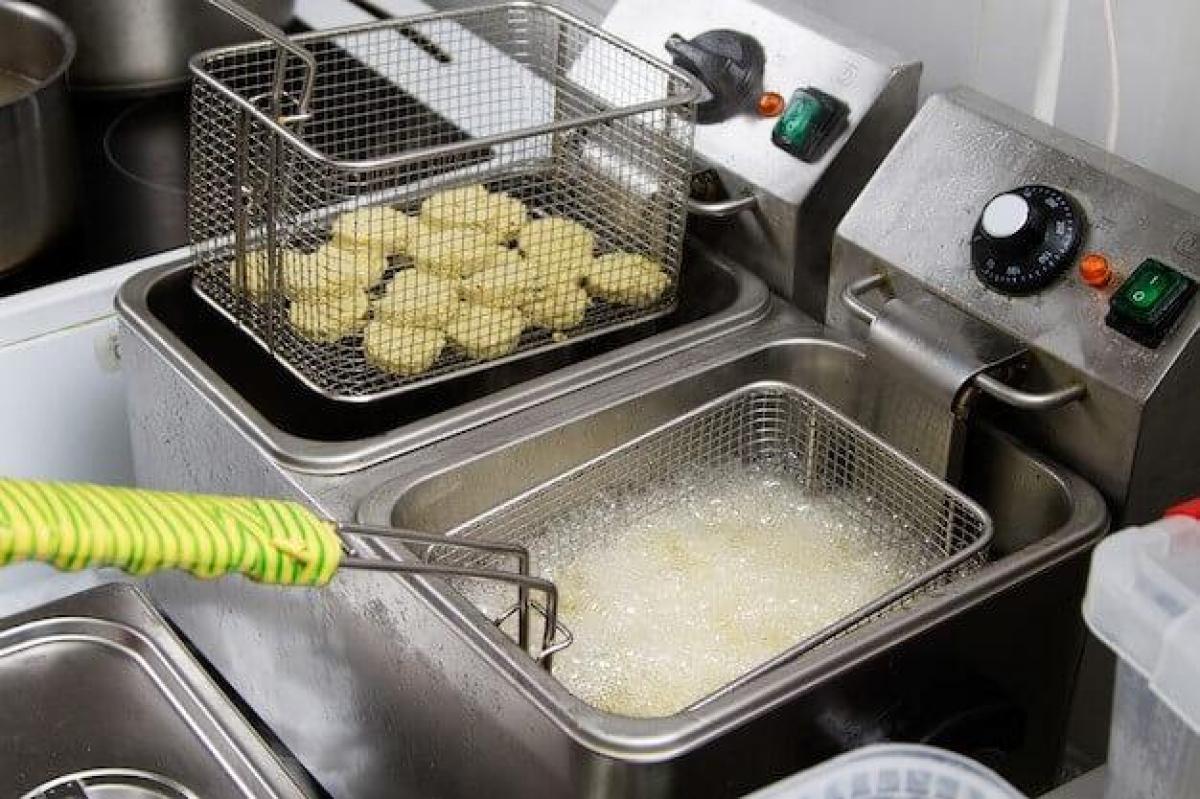
Let’s be real for a second. We all love the crispy, golden-brown magic that comes out of a deep fryer. But the aftermath? That lingering smell and the layer of sticky, polymerized grease can be a real kitchen nightmare. Before you reach for harsh chemicals, I’m here to tell you there’s a better way. I’m going to walk you through exactly how to clean a deep fryer with baking soda, a simple, cheap, and incredibly effective method that will get your machine looking and smelling fresh. Trust me, this little box of white powder is about to become your new best friend.
Why is Baking Soda the Secret Weapon for a Greasy Fryer?
You might know baking soda (or sodium bicarbonate, for the science geeks out there) as a leavening agent for cakes or a deodorizer for your fridge. But its cleaning power is where it truly shines for kitchen appliances.
Baking soda is a mild alkali, which makes it fantastic at cutting through and dissolving tough grease and grime without being corrosive. It’s also a gentle abrasive, so it can scrub away stuck-on food particles without scratching the non-stick surfaces or stainless steel of your fryer’s interior. It’s the perfect balance of tough and gentle.
“A clean fryer isn’t just about aesthetics; it’s about flavor. Old, rancid oil residue will inevitably taint the taste of your food. Regular, proper cleaning is the most important maintenance a chef can perform on their fryer.” – Chef David Chen, Culinary Equipment Specialist
Before You Start: Safety and Prep First!
Hold on there! Before we dive into the suds (or, in this case, the paste), we need to cover some non-negotiable safety steps. Getting this part right is crucial.
- Unplug It. No Exceptions. This is the golden rule. Water and electricity are not friends. Make sure the deep fryer is completely disconnected from the power source.
- Let It Cool Down Completely. Hot oil can cause severe burns. Depending on the size of your fryer, this could take a couple of hours. Be patient; it’s not worth the risk.
- Work in a Well-Ventilated Area. While we aren’t using harsh chemicals, a little airflow is always a good idea, especially when you’re dealing with old oil.
- Gather Your Supplies. You’ll need baking soda, hot water, a non-abrasive sponge or cloth, a plastic or wooden scraper, dish soap, and some old towels or paper towels.
How to Clean a Deep Fryer with Baking Soda: The Step-by-Step Method
Alright, with the prep work done, it’s time to get down to business. Follow these steps, and that grimy fryer will be sparkling in no time.
- Drain and Dispose of the Old Oil. Carefully pour the cooled oil into a sealable container. Never pour oil down the drain! It can solidify and cause massive plumbing blockages. Check with your local waste management services for proper oil disposal guidelines. Many areas have collection centers.
- Scrape Out the Loose Gunk. Use a plastic spatula or wooden spoon to gently scrape out any large, loose food debris and sludge from the bottom of the fryer pot. Wipe it all out with a paper towel.
- The Baking Soda Boil. This is where the magic happens for the main fryer pot. Fill the fryer with water up to the maximum oil line. Add about 1/4 to 1/2 cup of baking soda to the water (use more for larger fryers). Plug the fryer back in, turn it on, and bring the water to a gentle boil for about 10-15 minutes. You’ll literally see the grease and grime start to lift off the sides. After boiling, carefully unplug the fryer and let the water cool down enough to handle safely before pouring it out.
- Create a Baking Soda Paste for Stubborn Spots. For any remaining tough, baked-on grease, it’s time to bring in the paste. In a small bowl, mix about three parts baking soda to one part warm water until you have a thick paste, similar in consistency to toothpaste. Apply this paste directly to the stubborn spots inside the pot and on the exterior of the unit. Let it sit for 15-20 minutes to work its magic.
- Scrub, Rinse, and Repeat. Using a non-abrasive sponge or brush, gently scrub the areas where you applied the paste. The mild abrasion from the baking soda will lift the grime without scratching. For the inside of the pot that you boiled, a simple wipe-down should be sufficient. Rinse the fryer pot and basket thoroughly with hot water.
- Wash the Removable Parts. The basket, lid, and any other removable parts can usually be washed in the sink with hot, soapy water. Use your baking soda paste on the basket’s mesh to get into all the nooks and crannies. Rinse everything completely.
- Dry Thoroughly and Reassemble. This step is critical. Use a clean, dry cloth to wipe down every single part of the deep fryer, both inside and out. Ensure there is absolutely no moisture left before you reassemble it and store it away. Any remaining water can cause rust or interfere with the heating element.
Pro Tips from the Deep Fryer Expert
I’ve cleaned more deep fryers than I can count, from small home units to commercial beasts. Here are a few extra tips I’ve picked up along the way that can make your life easier.
- Frequency is Key: Don’t wait until your fryer is a biohazard. Performing a full clean like this after every 5-10 uses (depending on what you’re frying) will make the job infinitely easier each time.
- Filter Your Oil: To extend the life of your oil and reduce buildup, consider filtering it after each use once it has cooled. This removes food particles that would otherwise burn and stick to the fryer. You can learn more about [choosing the best oil for deep frying] and how to care for it.
- Tackle the Smell: Baking soda is a natural deodorizer. If a funky smell lingers after cleaning, you can leave a small open box of fresh baking soda inside the clean, dry fryer during storage.
- Consider an Easy-Clean Model: If you’re in the market for a new machine, look for one with a removable, dishwasher-safe pot and a hidden heating element. Models like the
Num Product Action 1 Elite Gourmet EDF2100 Electric Immersion Deep Fryer Removable Basket Adjustable Temperature, Lid with Viewing Window and Odor Free Filter, 2 Quart / 8.2 cup 
2 T-fal Compact EZ Clean Stainless Steel Deep Fryer with Basket 1.8 Liter Oil and 1.7 Pound Food Capacity 1200 Watts Easy Clean, Temp Control, Oil Filtration, Dishwasher Safe Parts, 1.8 Liters
3 OVENTE 1.5L Electric Deep Fryer with Viewing Lid, Adjustable Temperature, Removable Basket, Cool-Touch Handle, 800W Stainless Steel, Easy to Clean, Silver FDM1501BR
4 Secura 1700-Watt Stainless-Steel Triple Basket Electric Deep Fryer with Timer Free Extra Odor Filter, 4L/17-Cup,Silver
5 Hamilton Beach Electric Deep Fryer with 3 Baskets and Lid, 4.5 Liters / 19 Cups Oil Capacity, Temperature Control, View Window, Professional Style, 1800 Watts, Stainless Steel (35034)
6 Amazon Basics 3.2-Qt (3.0L) Deep Fryer with 12-Cup Oil Capacity, Adjustable Temperature, Easy Draining Basket, Stainless Steel Exterior, Viewing Window, 1500W, Black & Silver
7 Presto 8-Quart Big Kettle, Steamer and Deep Fryer Multi-Cooker, Black
8 T-fal 3.5L Stainless Steel Deep Fryer with Basket, 1700W Electric Deep Fryer with Basket and Lid, Oil Filtration, Temp Control, Digital Timer, Dishwasher Safe Parts
9 Chefman 4.5 Liter Deep Fryer w/Basket Strainer, XL Jumbo Size, Adjustable Temperature & Timer, Perfect for Fried Chicken, Shrimp, French Fries, Chips & More, Removable Oil-Container, Stainless Steel
10 T-fal 3.5L Stainless Steel Deep Fryer with Basket, 1700W Electric Deep Fryer with Basket and Lid, Oil Filtration, Temp Control, Digital Timer, Dishwasher Safe Parts
Frequently Asked Questions
Can I use this baking soda method on any type of deep fryer?
Yes, this method is generally safe for most electric deep fryers with stainless steel, aluminum, or non-stick interiors. However, it’s always a smart idea to check your manufacturer’s manual first for any specific cleaning instructions or materials to avoid.
How often should I clean my deep fryer with baking soda?
A deep clean using the boil method is recommended every 5-10 uses. For a quick wipe-down, you should clean the exterior after every use and remove any large debris from the interior once the oil is drained.
Is cleaning a deep fryer different from cleaning an air fryer?
Absolutely. While both appliances cook delicious food, their cleaning processes are very different. The main challenge with a deep fryer is the large volume of polymerized oil. An air fryer, on the other hand, deals with much less oil, so cleaning typically just involves washing the basket and pan with soap and water. You can read our full guide on the [air fryer vs deep fryer] debate for more details.
Will baking soda remove the old, burnt oil smell?
Yes, it does an excellent job. Baking soda is a natural deodorizer that neutralizes acidic odor molecules. The boiling process, combined with a final rinse, should leave your fryer smelling neutral and fresh.
Can I add vinegar to the baking soda for extra cleaning power?
You can! For extremely tough, caked-on grease, a little white vinegar can help. After applying the baking soda paste, you can spray a small amount of vinegar on top. The fizzing reaction can help lift stubborn grime. Just be sure to rinse everything extremely well afterward to remove any vinegar residue.
A Clean Fryer is a Happy Fryer
There you have it. A clean, non-greasy, and fresh-smelling appliance, all thanks to a kitchen staple you already have in your pantry. By learning how to clean a Deep Fryer with baking soda, you’re not just making it look better; you’re ensuring your food tastes better and extending the life of your machine. A little bit of regular maintenance goes a long way in the world of deep frying, paving the way for countless batches of perfectly crispy French fries, chicken wings, and doughnuts. Now, what will you be frying up first?